Renewable energy (RE) has long been a passion of mine, but practically speaking, it simply hasn’t been cost-effective to implement at a personal level. Factoring in credits, location, type of RE, etc. can often tip the scale, but generally speaking, an investment in RE would require more commitment than simply “running the numbers.” No judgment here, I understand and appreciate both sides of that argument.
In recent years, though, things have changed. Not entirely, and not across the board even now…but with inexpensive (yet quality) RE equipment being produced in the US, China, and many locations throughout Europe, one can begin to experiment with RE on a much smaller scale and determine if/how it makes sense for your particular situation.
As a software engineer, I also work to integrate whatever I build into a more manageable, usable system. Physical computing promises many things, which I’ll coarsely lump into the term “better living” – but to do it right requires more than just assembling some hardware. The intersection of devices with software and the greater internet results in what is often termed the “Internet of Things”, or the IoT…and this is where the potential for “better living” can skyrocket, if things are properly integrated. It’s a small and limited example, but how much more useful is a fully-integrated system that is easily managed from anywhere on the planet than a complex system composed of numerous components…all of which must be monitored individually and manually?
For this post, we’ll focus solely upon one small portion of that integrated system: adding PV, or photovoltaic (solar) panels to a functioning small-scale RE system. Before these additions, the system consisted of:
- Wind turbine
- Deep-cycle battery bank
- Arduino to control sensors, radio transceiver
- Temp/humidity and current/voltage sensors
- Radio transceiver, primarily for comm link to send readings
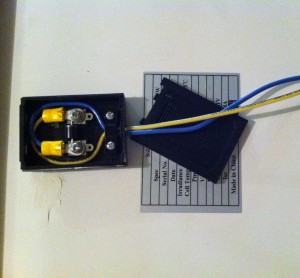
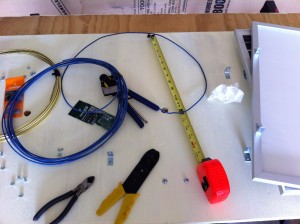
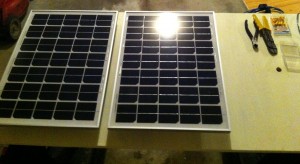
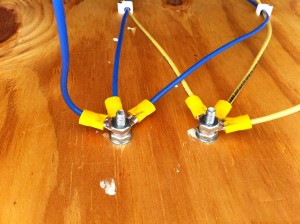
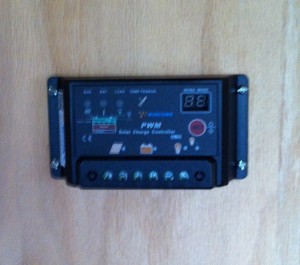
Now we’re adding a solar charge controller and initially, two 25W solar panels wired in parallel for a total of 50W maximum.
In future posts, I hope to elaborate on the software side because (as stated above) that is where the difference truly lies. For now, here are some pictures (and a very short video) of the PV addition:
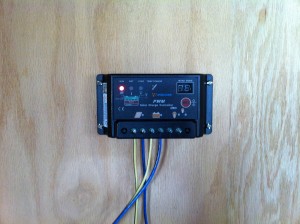
Charge Controller Mounted AND Connected!
The “Sun” light indicates power from the panels;
the “Battery” light flashes while charging attached batteries.
And finally, a short video to give a glimpse of the PV portion of the system in action:
In future posts, I plan to provide more information about the “good stuff” (teaser: JavaFX, Java Embedded Suite, more Arduino, BeagleBone Black, wireless management, and more!), but a system must exist before it can be monitored and managed. As we continue to “build out” the system, those opportunities will only increase. Stay tuned, and please feel free to comment below or drop me a line. Thanks for visiting!
All the best,
Mark
Related Posts:
Tags: alternative, Arduino, BeagleBone, charge, controller, Embedded, energy, humidity, INA219, Internet of Things, IoT, java, JavaFX, M2M, nRF24L01, photovoltaic, PV, Raspberry Pi, Solar, system, temperature, transceiver, turbine, wind, wireless

