Hecklers in Development
Code, coffee, & camaraderie. Collection, unordered. ;)

Renewable energy (RE) has long been a passion of mine, but practically speaking, it simply hasn’t been cost-effective to implement at a personal level. Factoring in credits, location, type of RE, etc. can often tip the scale, but generally speaking, an investment in RE would require more commitment than simply “running the numbers.” No judgment here, I understand and appreciate both sides of that argument.


In recent years, though, things have changed. Not entirely, and not across the board even now…but with inexpensive (yet quality) RE equipment being produced in the US, China, and many locations throughout Europe, one can begin to experiment with RE on a much smaller scale and determine if/how it makes sense for your particular situation.


As a software engineer, I also work to integrate whatever I build into a more manageable, usable system. Physical computing promises many things, which I’ll coarsely lump into the term “better living” – but to do it right requires more than just assembling some hardware. The intersection of devices with software and the greater internet results in what is often termed the “Internet of Things”, or the IoT…and this is where the potential for “better living” can skyrocket, if things are properly integrated. It’s a small and limited example, but how much more useful is a fully-integrated system that is easily managed from anywhere on the planet than a complex system composed of numerous components…all of which must be monitored individually and manually?


For this post, we’ll focus solely upon one small portion of that integrated system: adding PV, or photovoltaic (solar) panels to a functioning small-scale RE system. Before these additions, the system consisted of:

  • Wind turbine
  • Deep-cycle battery bank
  • Arduino to control sensors, radio transceiver
  • Temp/humidity and current/voltage sensors
  • Radio transceiver, primarily for comm link to send readings

Now we’re adding a solar charge controller and initially, two 25W solar panels wired in parallel for a total of 50W maximum.


In future posts, I hope to elaborate on the software side because (as stated above) that is where the difference truly lies. For now, here are some pictures (and a very short video) of the PV addition:

Connecting PV Panel

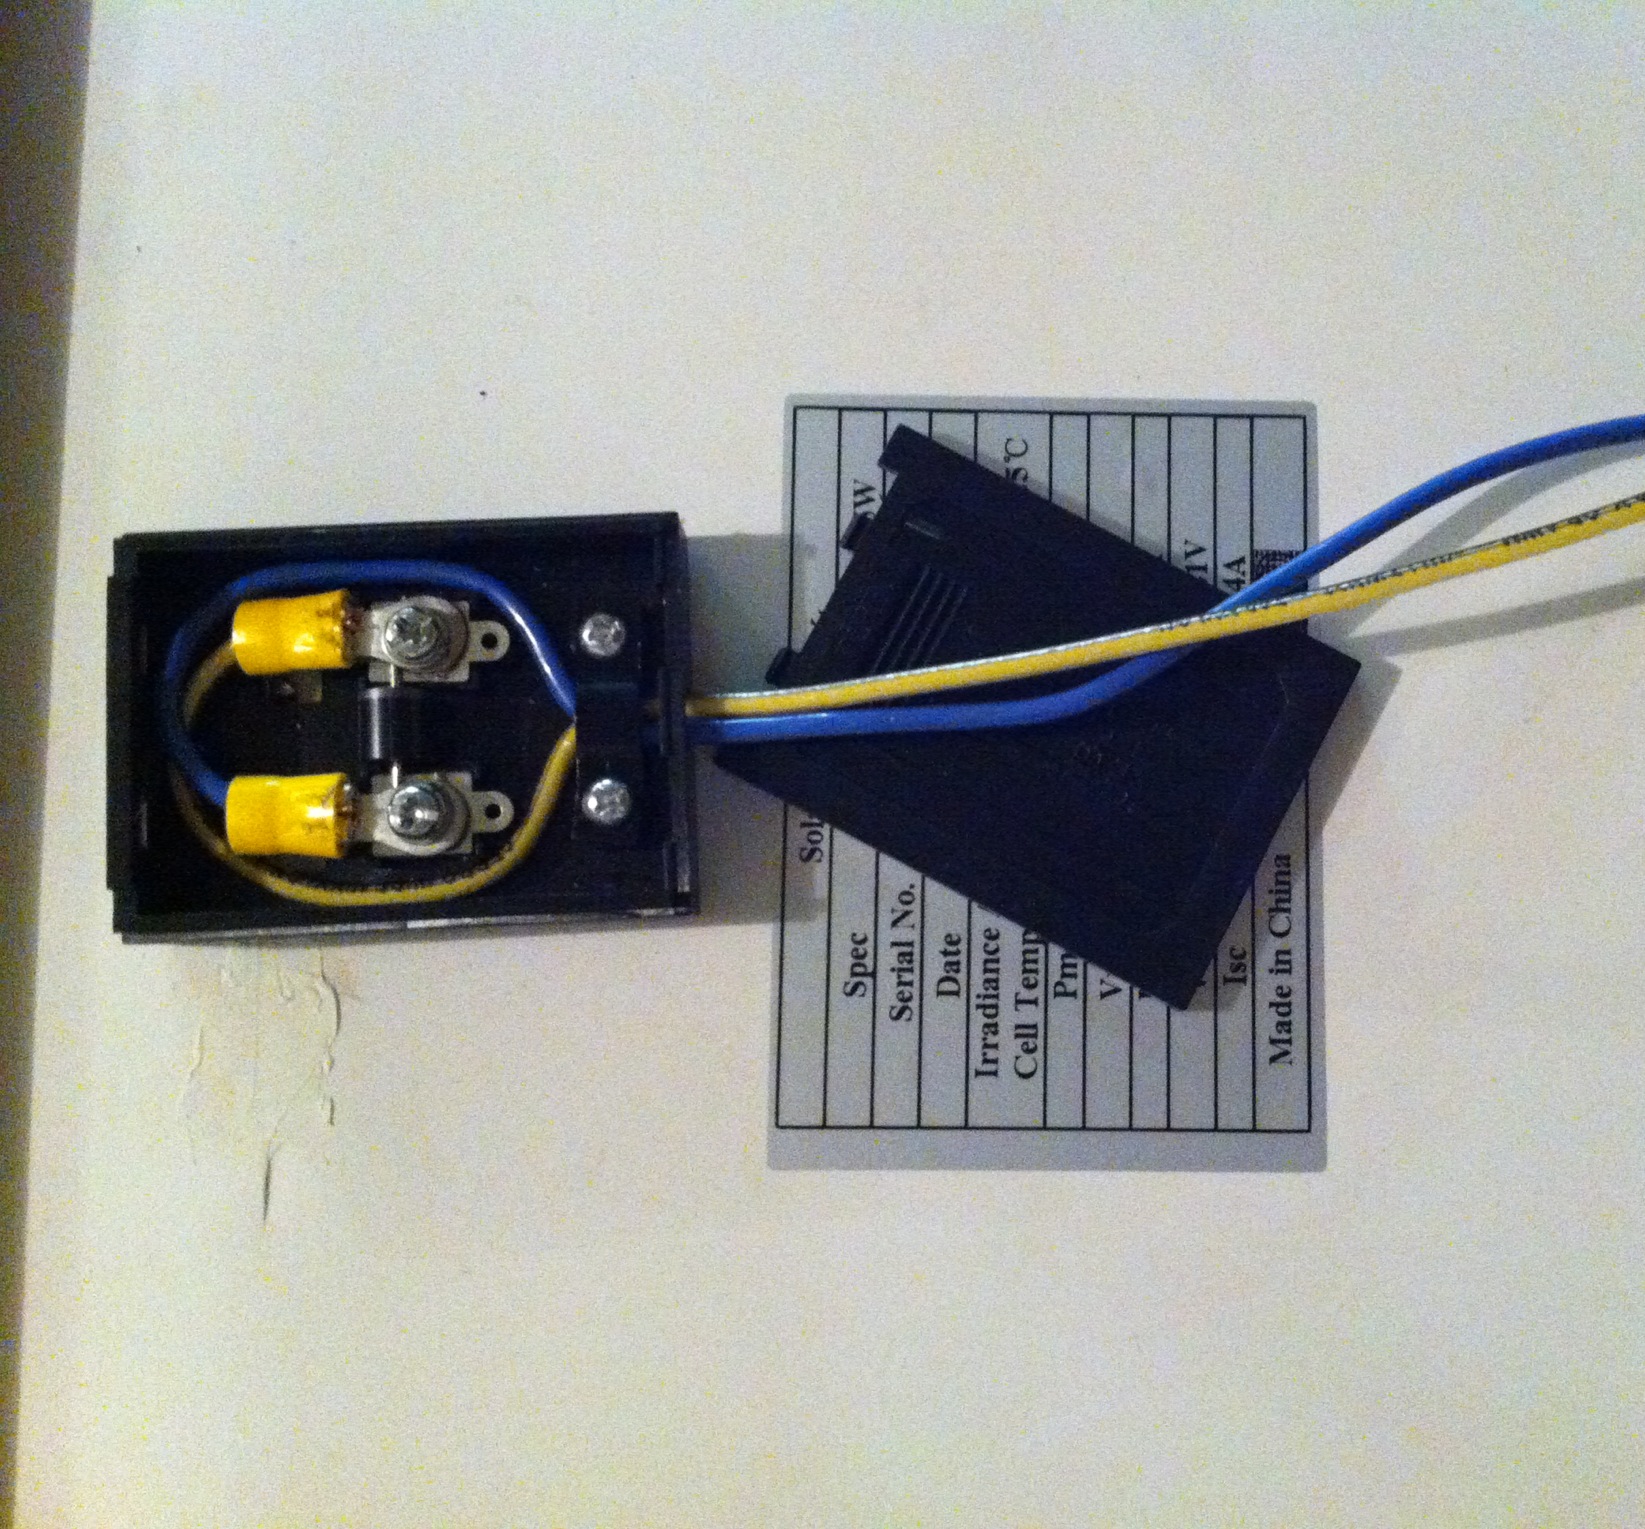
Connecting the PV Panel


Assembly Of PV Board

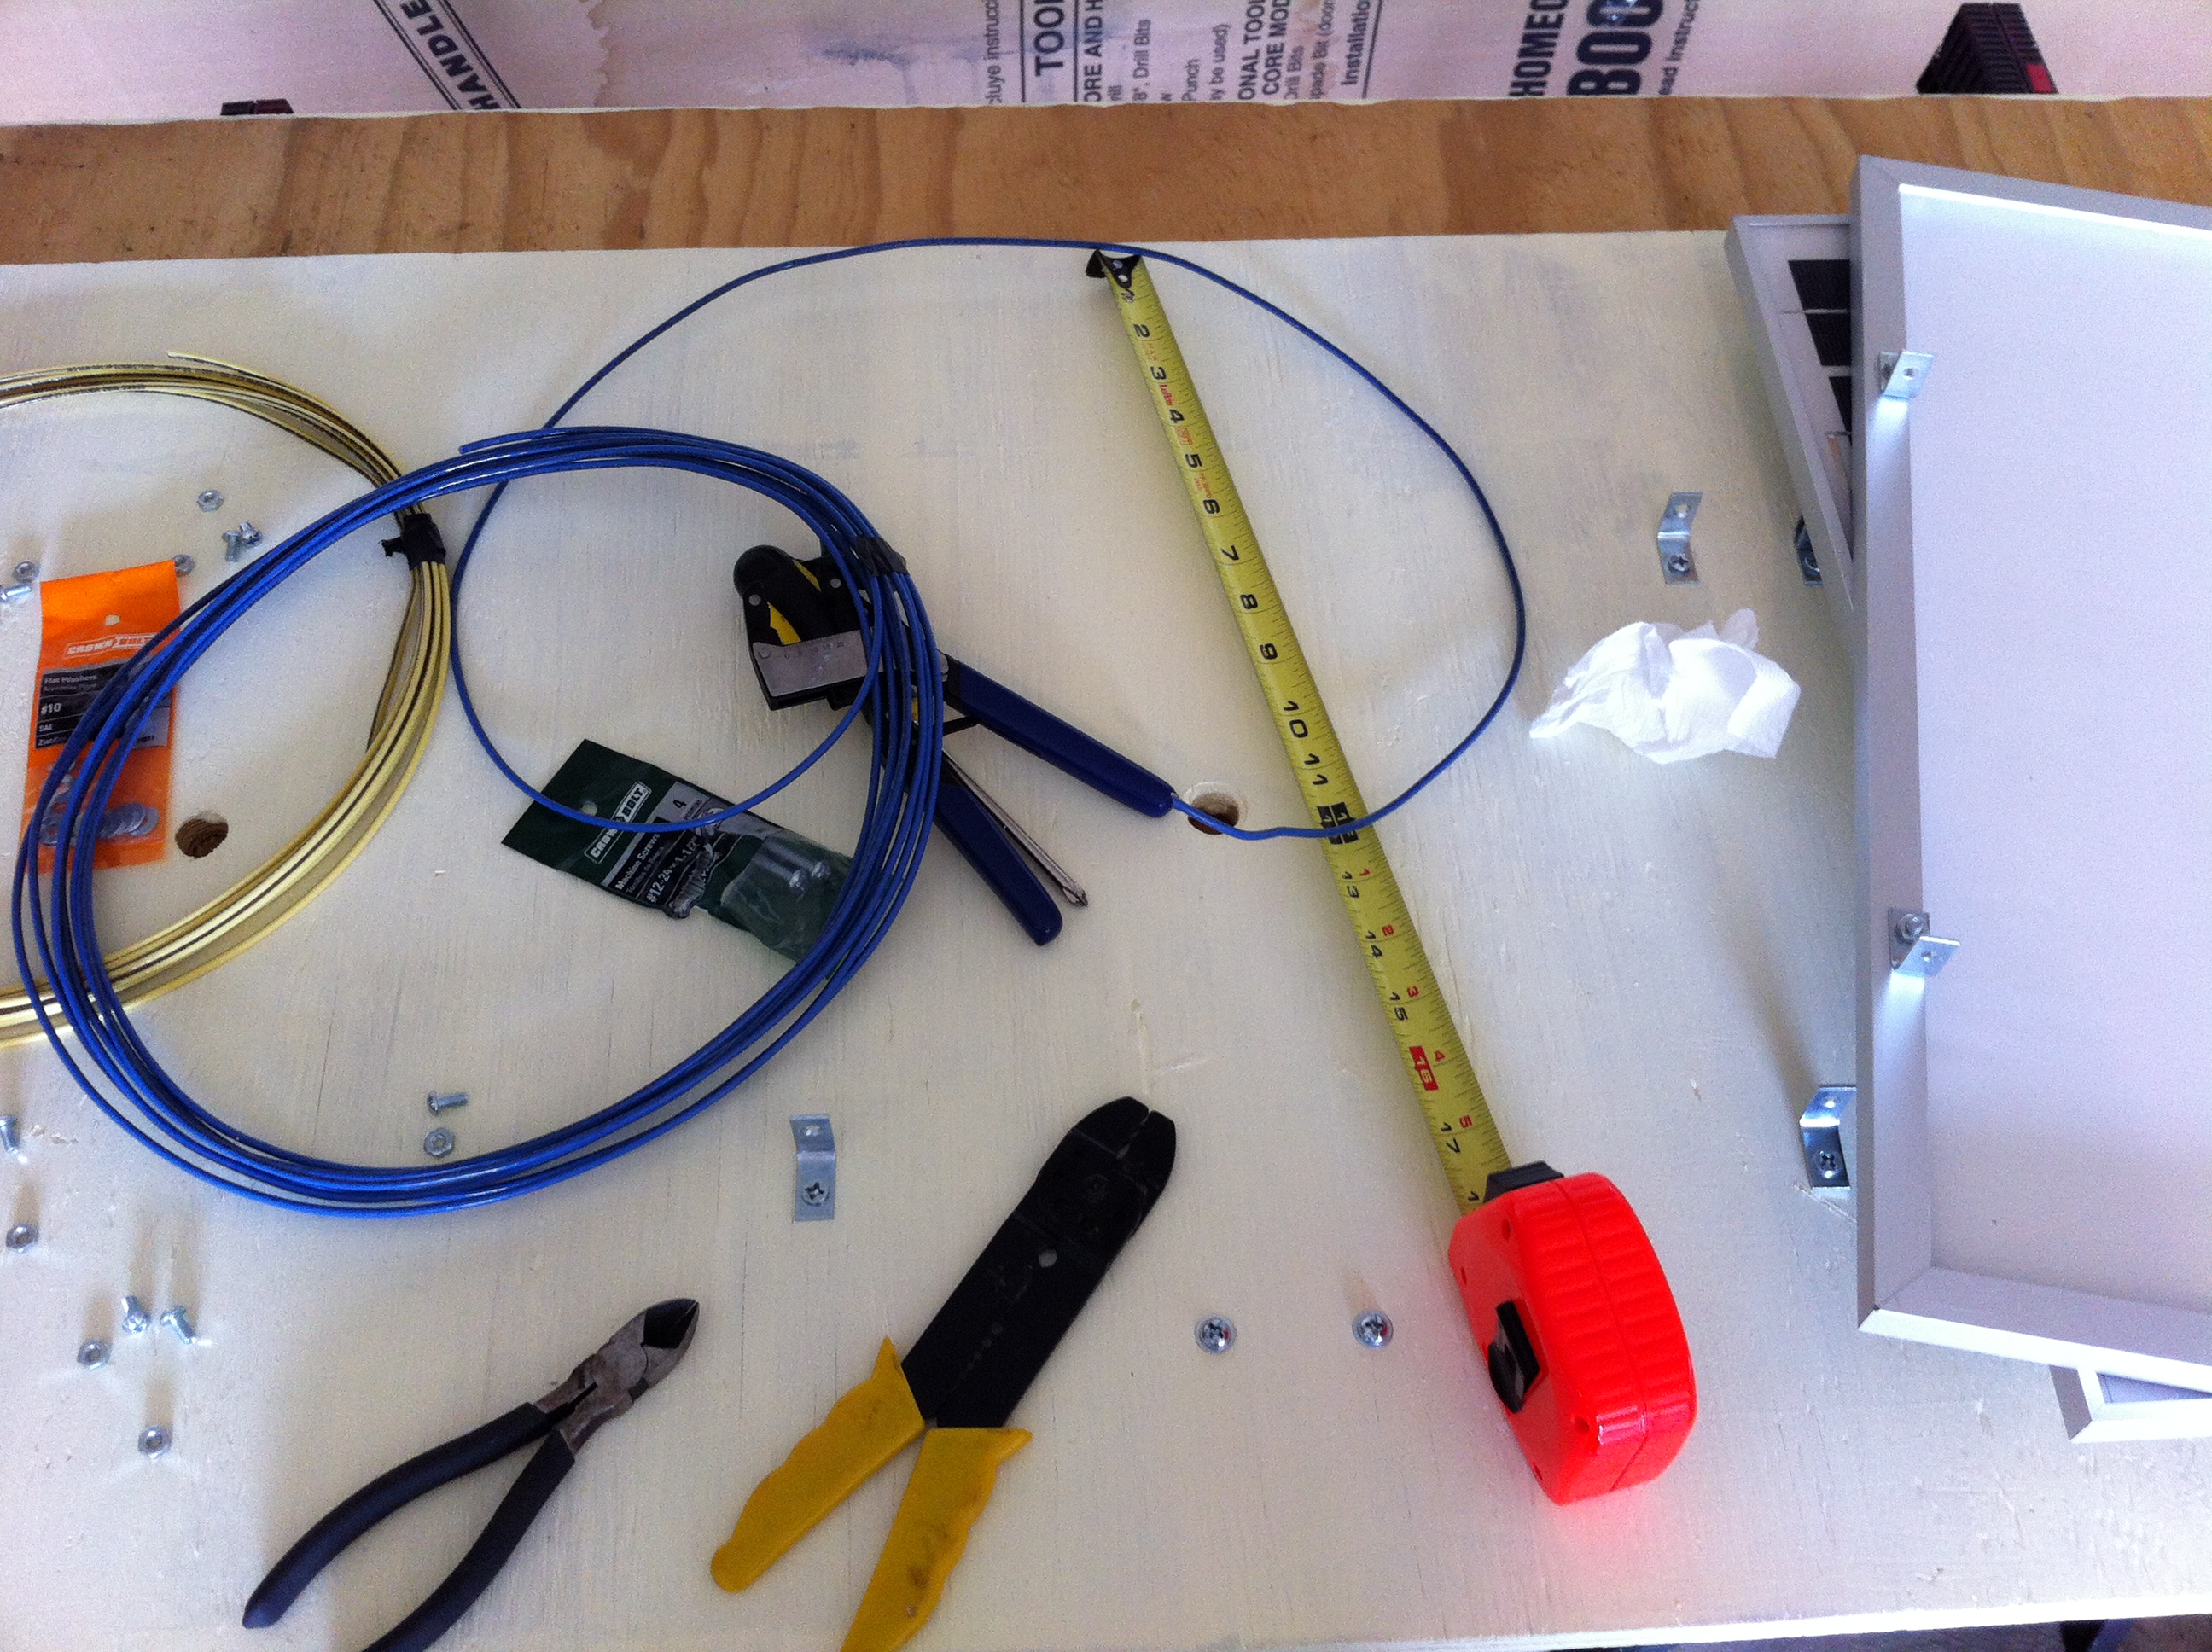
Mounting the PV Panels to the Backing Board


Two Panels Mounted

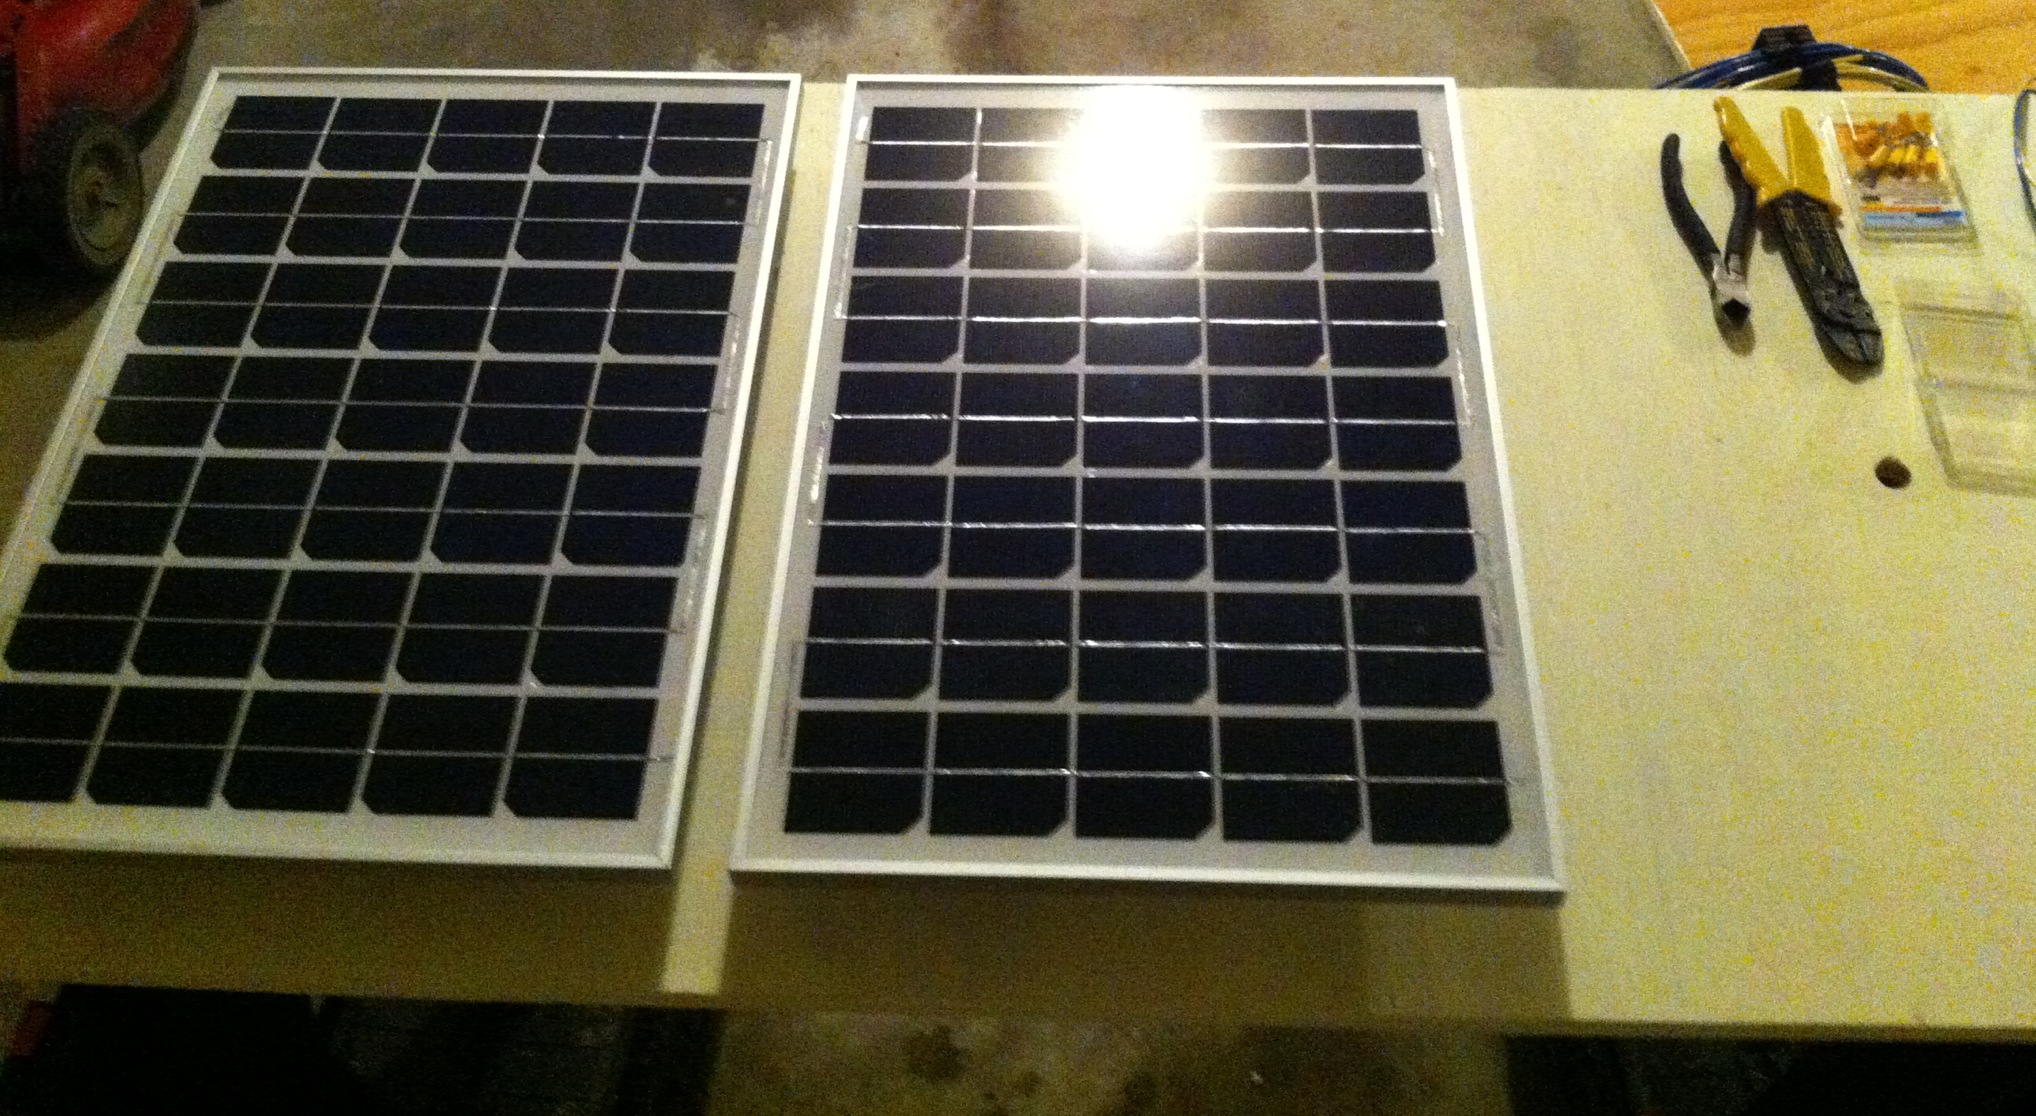
Initial Two Panels Mounted


Wire Terminals On PV Board

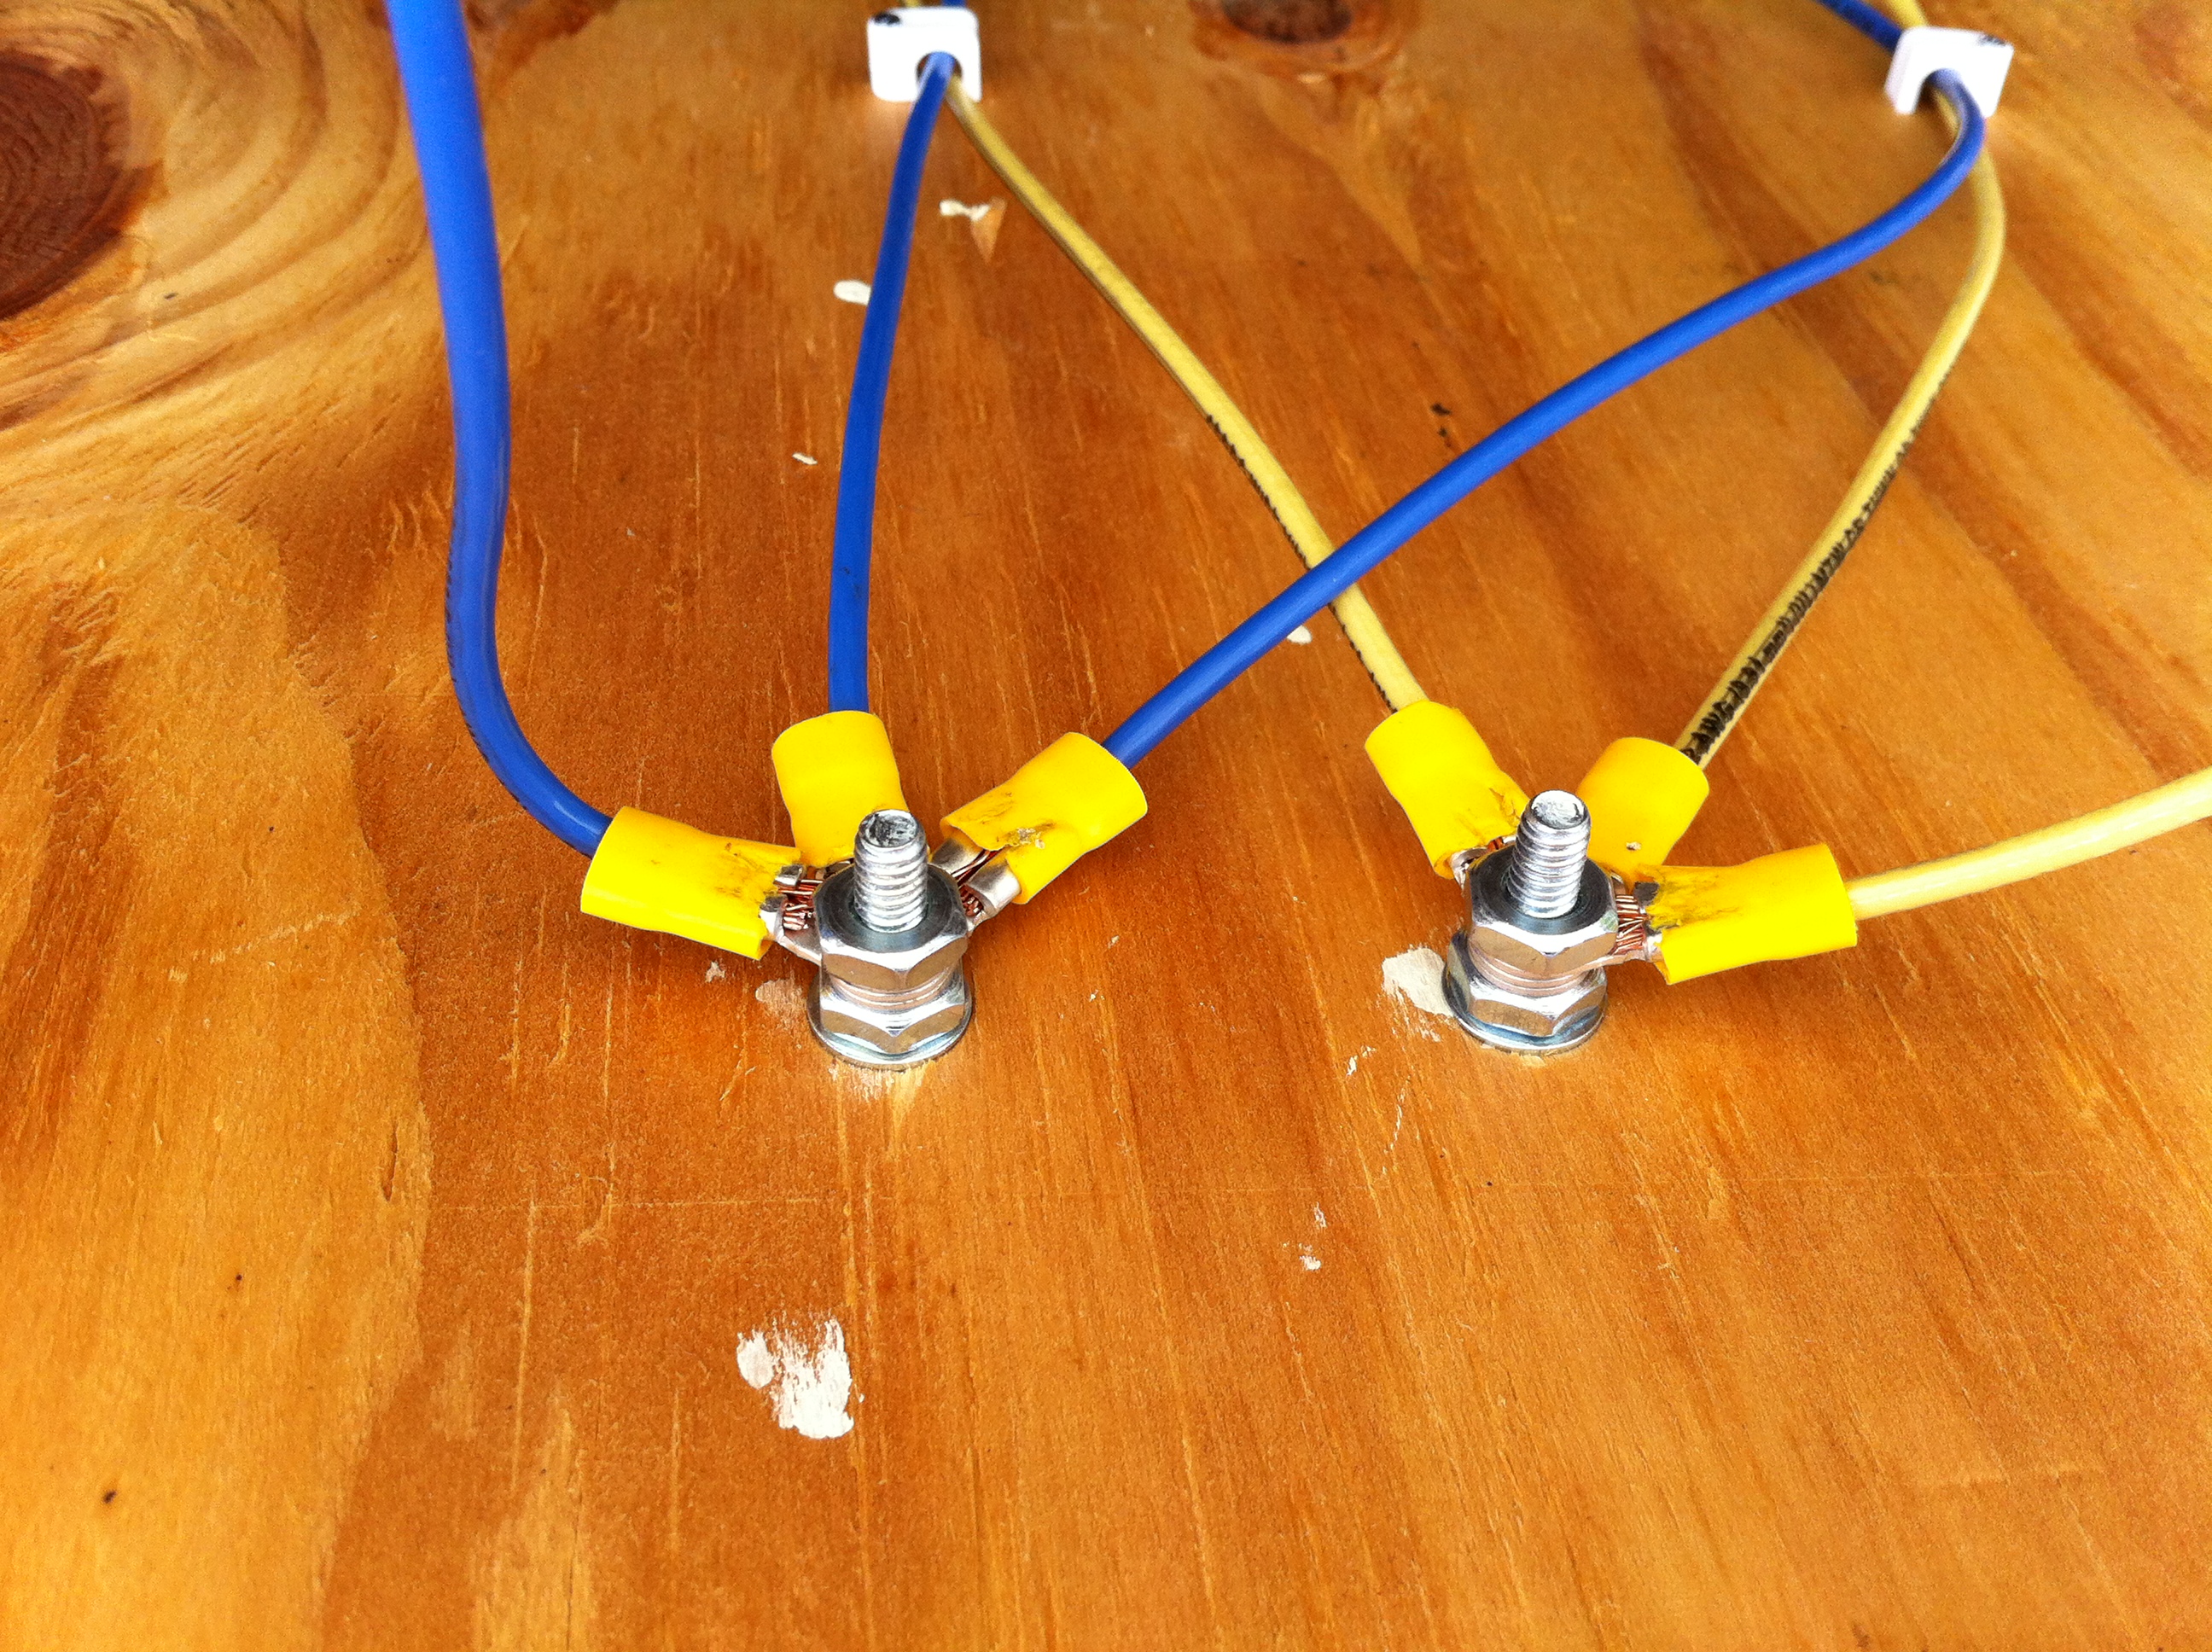
Simple Wire Terminals on PV Board


Charge Controller

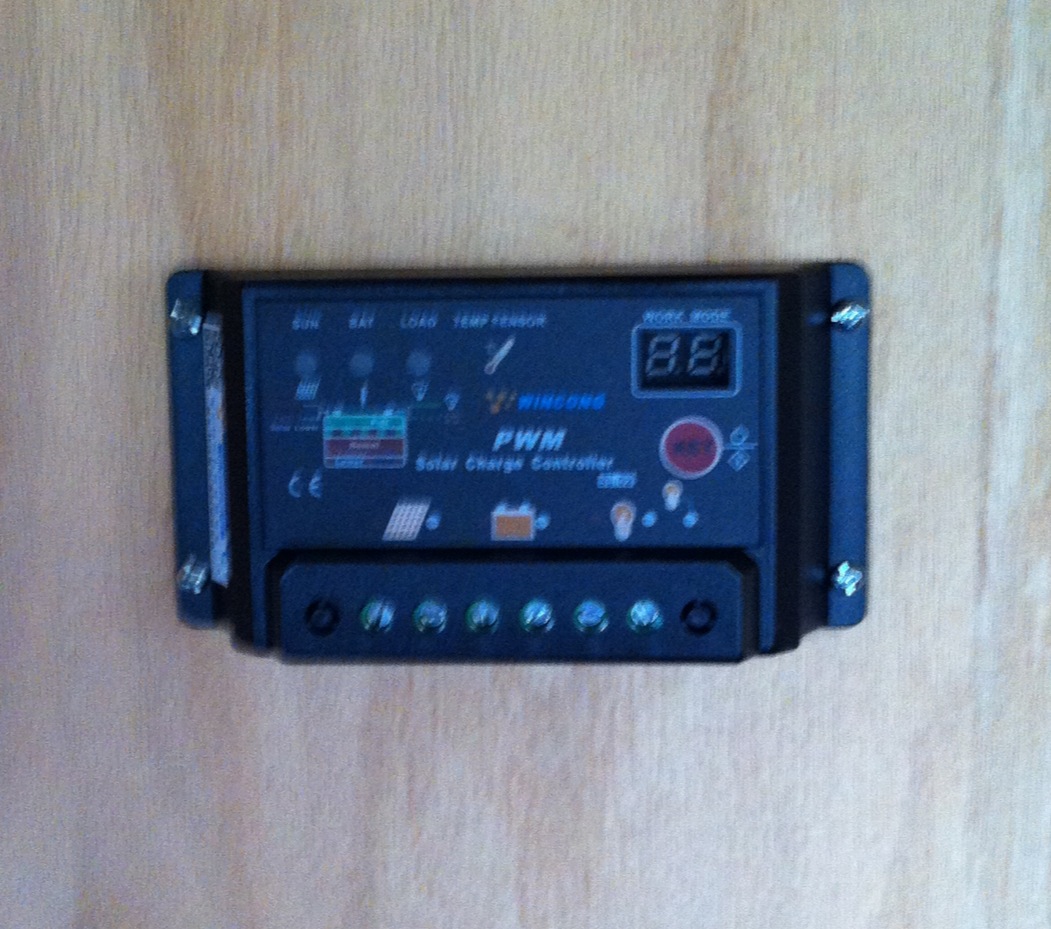
Charge Controller Mounted, Not Yet Connected


Charge Controller Working

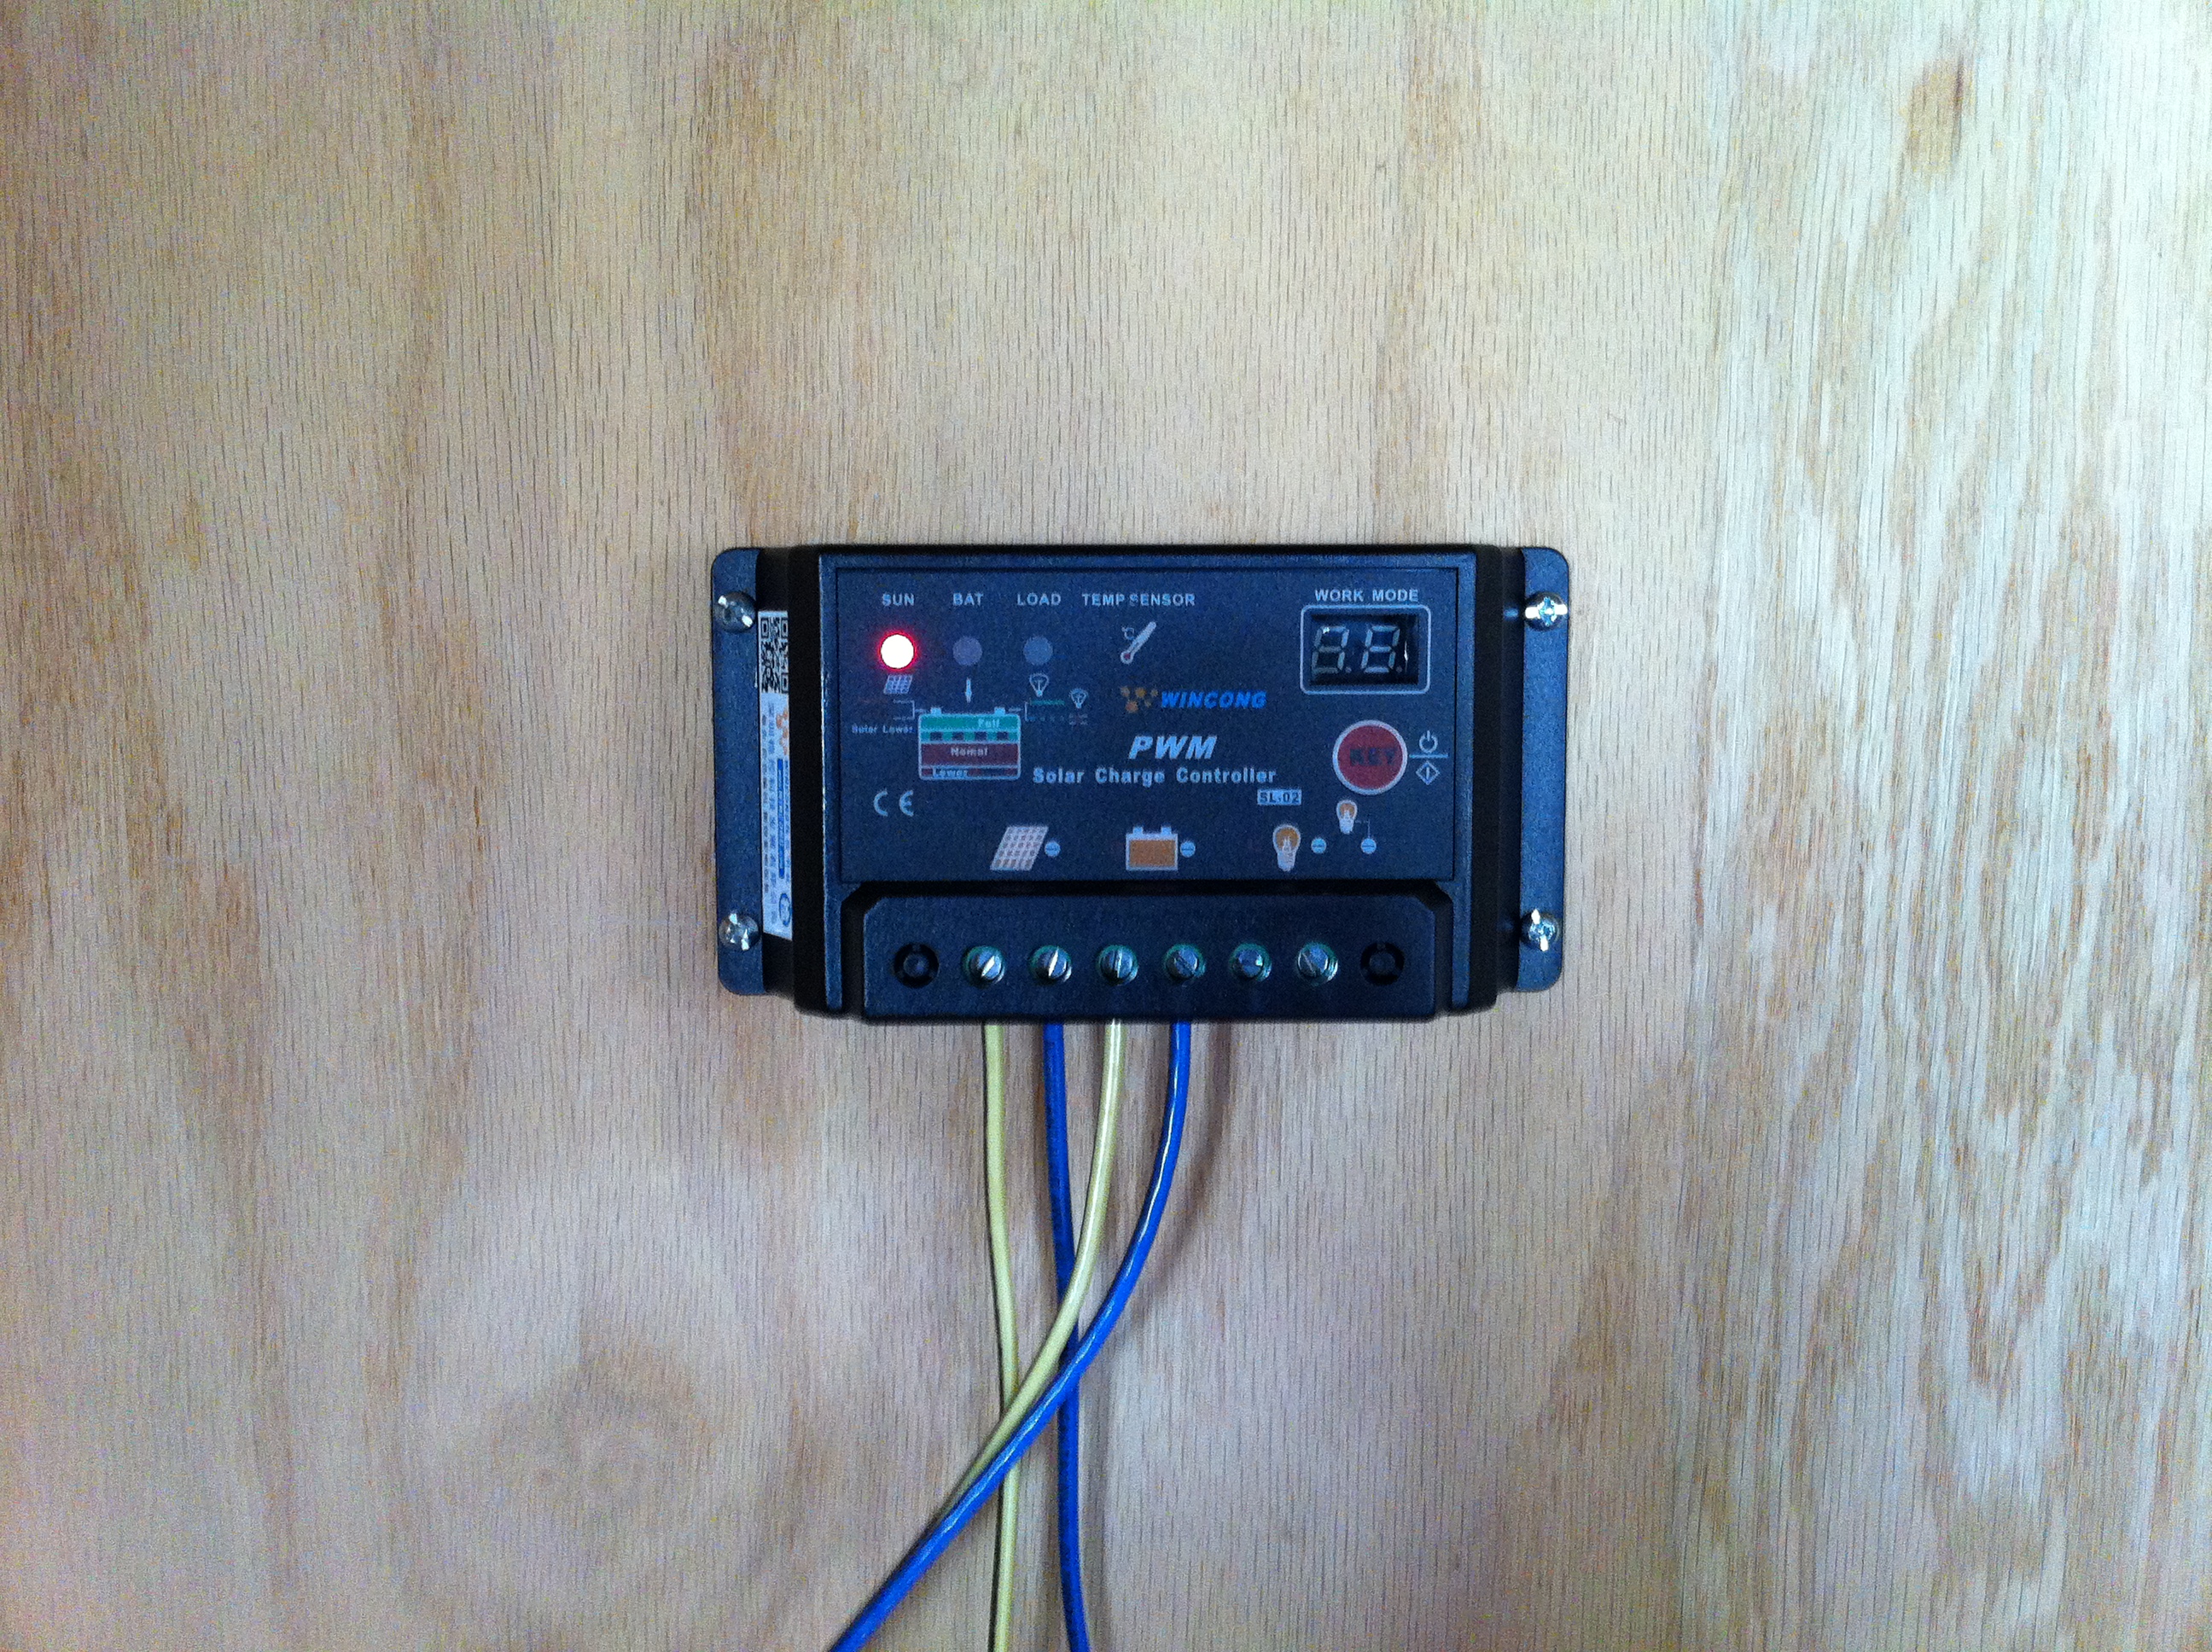
Charge Controller Mounted AND Connected!
The “Sun” light indicates power from the panels;
the “Battery” light flashes while charging attached batteries.


And finally, a short video to give a glimpse of the PV portion of the system in action:

In future posts, I plan to provide more information about the “good stuff” (teaser: JavaFX, Java Embedded Suite, more Arduino, BeagleBone Black, wireless management, and more!), but a system must exist before it can be monitored and managed. As we continue to “build out” the system, those opportunities will only increase. Stay tuned, and please feel free to comment below or drop me a line. Thanks for visiting!


All the best,
Mark


Share

Related Posts:


Tags: , , , , , , , , , , , , , , , , , , , , , , , ,

I’ve been working recently with a client to do some rather useful things with notifications, and one of them involved sending a secure email from within a Java program. We encountered some interesting (translation: weird!) challenges, and in overcoming them, I worked out a reasonably straightforward path through the minefield. If you’ve been thinking about secure-email-enabling your Java app but aren’t sure where to start, hopefully this will serve as a fairly quick and mostly painless primer.  🙂

The Problem

Let me first say that if you only want to send a plain-text email from Java, there are ways to do that without much fuss and without any external players. If you want to sign or encrypt your emails, though, you’ll need a couple of extra components:

  1. A digital certificate (private/public key pair issued by a recognized Certificate Authority, or “CA”)
  2. A means of using the certificate to sign and/or encrypt the email
The goal is to digitally sign an email to assure recipients that the sender of the mail is indeed me (or you, if you’re following along at work/home). Let’s get started!

Getting Your Tools in Order

Getting a Certificate

First, we have to have a digital certificate. If you already have one, you can skip this step…but if not, StartSSL offers free user/email certificates for personal use. Just point your browser to the StartSSL site and click the large button labeled “Sign-up”. You’ll need to provide them some information, enter the verification code they email to the address you provide, and they do the rest…including installing your new cert and the certificate chain into your web browser.

Freeing the Certificate from your Browser

Perhaps the easiest way to use a certificate is to store it (keys, certificate chain) in a Java Keystore (jks). Extracting your shiny new certificate from your browser is a relatively easy (albeit drawn-out) process. From your browser, export your certificate, including private key. This will produce a .pfx file, which is a PKCS12 keystore. From Chrome, you simply:
  1. Click on the Wrench (or Lines) icon in the upper-right corner
  2. Select “Settings” from the menu
  3. “Show advanced settings…” at the bottom of the page
  4. Scroll down to the section labeled “HTTPS/SSL”
  5. Click the “Manage certificates…” button to display your certificates.
Then, from the certificates window:
  1. Select the target certificate and click the “Export…” button
  2. Click “Next” from the Export Wizard window
  3. Choose “Yes, export the private key” and click “Next”
  4. Under the “Personal Information Exchange – PKCS #12 (.PFX)” entry, select the options to “Include all certificates in the certification path if possible” and “Export all extended properties” (NOTE: Do NOT choose to “Delete the private key if the export is successful”. No no no!) and click “Next”
  5. Enter a password (twice) and click “Next”
  6. Provide a path/filename for the export and click “Next”, and finally…
  7. Confirm the export options and click “Finish”.
Now that we’ve liberated your cert from the browser, let’s make it usable by our (non-browser) Java program.

Creating a Java Keystore

The fastest, easiest way I’ve found to convert a .pfx file to a .jks (Java Keystore) file is with the Oracle 11g database client. The database client can be downloaded by following this link, selecting the “See All” link to the right of your listed operating system, and choosing the 11g client from the OS-specific download page. Once it’s downloaded and installed, you’re ready to proceed.
Like the .pfx file, the Oracle wallet is a PKCS12 keystore, and the orapki utility (and other tools) included with the database client can be used to manipulate it…as long as it thinks it’s dealing with an Oracle wallet. To make that happen, simply rename the .pfx file to ewallet.p12. Since we aren’t dealing with the Oracle Wallet Manager, we don’t have to worry about meeting OWM’s password criteria or other niceties. Yes, that really is all there is to it!
Now, to make a Java Keystore. To do that, you’ll need to open a command prompt and do the following tasks:
  1. Create an ORACLE_HOME environment variable that points to the install location of the Oracle client
  2. Run the following command, pointing to the orapki utility under %ORACLE_HOME%\bin (in Windows) or $ORACLE_HOME/bin (Mac/Linux/UNIX):
orapki wallet pkcs12_to_jks -wallet <wallet_directory> -pwd <wallet_password> -jksKeyStoreLoc <java_key_store_path_and_filename> -jksKeyStorepwd <jks_password>
 
You should now have a brand new Java KeyStore! You can verify its contents with the OpenSSL keytool utility:
keytool -list -keystore <java_key_store>
 

Now that we have our credentials in order, on to the Java side of things!

Building the Solution

There are several Java libraries available that aid in signing and/or encrypting email. Of the non-commercial options I found, all use the Bouncy Castle Crypto API and libraries as their underpinnings. Bouncy Castle (BC) may have a funny name, but it’s all business with regard to encryption.
 
At a very high level, you need to do the following things to create/send a signed email:
  1. Provide the email “essentials”: SMTP server host & port, email addresses (sender & receiver), a subject, content, and the sending user’s password
  2. Add BC as a new crypto provider
  3. Retrieve the cert from your Java Keystore
  4. Create and sign the email using the BC API/libraries
  5. Send the email

There is much more you can do of course, but these are the “must-haves”.

In preparation for developing our secure email module, I created a proof of concept (BCCrypTool) by marrying a Java email program I’d written previously and some BC sample code…code reuse at its lowest level, but still good for the environment. 🙂 What you see here in my GitHub repo is a bit of streamlined Java code that should be pretty easy to repurpose. Please feel free to take a copy and do just that, and if you make significant changes/improvements and are able and inclined to share them, please feel free to do that as well. Sharing is caring.  🙂
 
A quick note on libraries. You’ll need the following to make this work:
And from Bouncy Castle, the following:
  • The BC provider library (bcprov-jdk15on-147.jar)
  • The BC S/MIME library (bcmail-jdk15on-147.jar)
  • The BC security library (bcpkix-jdk15on-147.jar)
There are other BC libraries available here if you’d like to take things even further.
 
All the best to you in your Java secure email adventures!

Mark

Cross-posted from The Java Jungle.

Share

Related Posts:


Tags: , , , , , , , , , , , , , , ,

Cross-posted from The Java Jungle by Mark

I recently had the opportunity to spin up a small web application using JSF and MySQL. Having developed JSF apps with Oracle Database back-ends before and possessing some small familiarity with MySQL (sans JSF), I thought this would be a cakewalk. Things did go pretty smoothly…but there was one little “gotcha” that took more time than the few seconds it really warranted.

The Problem

Every DBMS has its own way of automatically generating primary keys, and each has its pros and cons. For the Oracle Database, you use a sequence and point your Java classes to it using annotations that look something like this:

@GeneratedValue(strategy=GenerationType.SEQUENCE, generator=”POC_ID_SEQ”)
@SequenceGenerator(name=”POC_ID_SEQ”, sequenceName=”POC_ID_SEQ”, allocationSize=1)

Between creating the actual sequence in the database and making sure you have your annotations right (watch those typos!), it seems a bit cumbersome. But it typically “just works”, without fuss.

Enter MySQL. Designating an integer-based field as PRIMARY KEY and using the keyword AUTO_INCREMENT makes the same task seem much simpler. And it is, mostly. But while NetBeans cranks out a superb “first cut” for a basic JSF CRUD app, there are a couple of small things you’ll need to bring to the mix in order to be able to actually (C)reate records. The (RUD) performs fine out of the gate.

The Solution

Omitting all design considerations and activity (!), here is the basic sequence of events I followed to create, then resolve, the JSF/MySQL “Primary Key Perfect Storm”:

  1. Fire up NetBeans.
  2. Create JSF project.
  3. Create Entity Classes from Database.
  4. Create JSF Pages from Entity Classes.
  5. Test run. Try to create record and hit error.

It’s a simple fix, but one that was fun to find in its completeness. 🙂 Even though you’ve told it what to do for a primary key, a MySQL table requires a gentle nudge to actually generate that new key value. Two things are needed to make the magic happen.

First, you need to ensure the following annotation is in place in your Java entity classes:

@GeneratedValue(strategy = GenerationType.IDENTITY)

All well and good, but the real key is this: in your controller class(es), you’ll have a create() function that looks something like this, minus the comment line and the setId() call in bold red type:

    public String create() {
        try {
            // Assign 0 to ID for MySQL to properly auto_increment the primary key.
            current.setId(0);
            getFacade().create(current);
            JsfUtil.addSuccessMessage(ResourceBundle.getBundle(“/Bundle”).getString(“CategoryCreated”));
            return prepareCreate();
        } catch (Exception e) {
            JsfUtil.addErrorMessage(e, ResourceBundle.getBundle(“/Bundle”).getString(“PersistenceErrorOccured”));
            return null;
        }
    }

Setting the current object’s primary key attribute to zero (0) prior to saving it tells MySQL to get the next available value and assign it to that record’s key field. Short and simple…but not inherently obvious if you’ve never used that particular combination of NetBeans/JSF/MySQL before. Hope this helps!

All the best,
Mark

Share

Related Posts:


Tags: , , , , , , , ,

Powered by Wordpress
Theme © 2005 - 2009 FrederikM.de, heavily modified by Mark Heckler
BlueMod is a modification of the blueblog_DE Theme by Oliver Wunder